REVIEW · SEOUL
Traditional Korean Mother-of-Pearl Craft Workshop
Book on Viator →Operated by 휘호크래프트 · Bookable on Viator
Pearl shine in an hour in Mapo. A Hwiho Craft workshop lets you learn Najeon Chilgi mother-of-pearl inlay and then make a take-home piece using real shell color.
I like that the class is small and practical, with time to design your own layout from start to finish. I also like that you can choose what you’ll create, from a compact mirror to a hair accessory or accessory box.
One heads-up: the workshop is on the 4th floor and there’s no elevator, so stairs are part of the experience.
In This Review
- Key highlights before you go
- Najeon Chilgi mother-of-pearl: why this souvenir feels different
- What $30 buys, and why it can be good value
- Where to meet: 4th floor stairs near Dongmak-ro
- How the 90-minute session is structured (and what you’ll do first)
- Step 1: Choose your item and start planning your design
- Step 2: Learn the inlay process, then begin assembling
- Step 3: Build your pattern (traditional options plus letters)
- Step 4: Finish your piece while the instructor helps wrap things up
- Step 5: Watch the short video on traditional Najeon Chilgi
- Choosing shapes and letters: your design freedom is real
- What you’ll make: pick the item that matches how you’ll use it
- Instructor support and the studio vibe that keeps it relaxing
- Practical travel tips: timing, group size, and who can join
- Children rules (important)
- Service animals
- How to get the most out of your time (without overthinking it)
- Who should book this mother-of-pearl workshop?
- Should you book Hwiho Craft’s Najeon Chilgi workshop?
- FAQ
- How long is the Traditional Korean Mother-of-Pearl Craft Workshop?
- What can I make in the workshop?
- What is Najeon Chilgi?
- Where is the meeting point and how do I find the workshop?
- Are children allowed to participate?
- Is there a limit on group size?
Key highlights before you go
- Najeon Chilgi basics: learn the mother-of-pearl inlay process from the instructor’s explanation
- Real design choices: pick your item and arrange patterns, shapes, and letter pieces
- Custom souvenirs you’ll actually use: mirrors, keychains, hair accessories, and more
- Small group feel: capped at 9 travelers, which keeps it relaxed and hands-on
- After-class video: you’ll watch a short film about how traditional pieces are made
- Findable local studio: look for the pink studio sign and the side entrance near the downstairs café
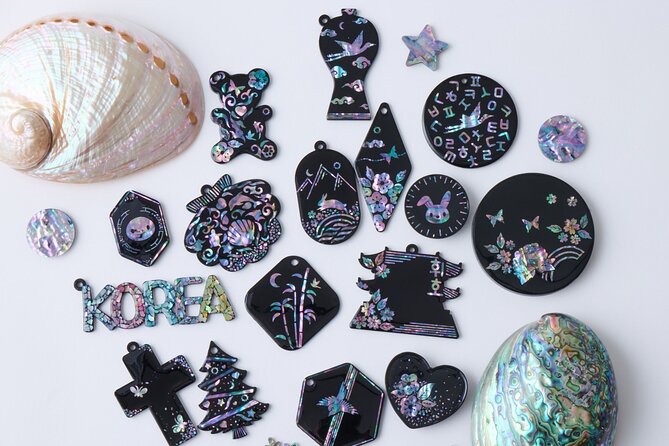
Najeon Chilgi mother-of-pearl: why this souvenir feels different
If you’ve bought “pretty things” in Seoul before, you’ll notice the difference fast. This workshop isn’t about picking a finished product off a shelf. You’re learning how thin shell material gets shaped and set into a design—so your piece has a little human logic behind it.
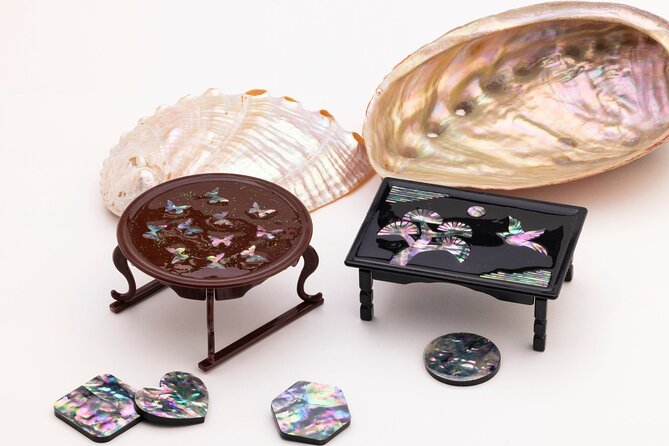
Mother-of-pearl (from processed seashell layers) has natural color shifts that don’t look like paint. In photos it can look flashy, but in person it reads as soft, layered shine. That’s the point. You’re not making a generic glitter trinket. You’re creating an inlay piece where the material itself is the feature.
You can also read our reviews of more tours and experiences in Seoul


What $30 buys, and why it can be good value
The price is $30 per person. That’s the entry point for the workshop class, and the biggest reason it can feel like good value is simple: you end up with a personalized item you can carry or gift.
Also, plan for one key rule: all participants must purchase at least one experience item. In practice, this usually means you’ll choose the specific craft you want to make (mirror, keychain, and so on) and pay for that piece as part of the experience. The value is that you’re paying for guidance plus your own design, not just materials laid out for you.
This isn’t a “look and watch” class. For thirty bucks in a city full of add-on tours, you’re getting a real hands-on skill and a finished keepsake that looks genuinely crafted.
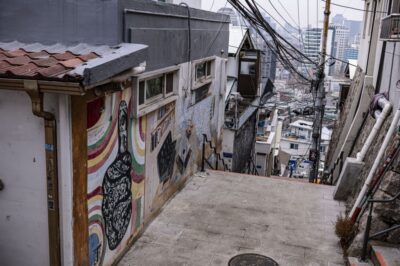
Where to meet: 4th floor stairs near Dongmak-ro
Your meeting point is at 5 Dongmak-ro 2-gil, Mapo-gu, Seoul. The activity ends back at the meeting point, so you’re not hopping around town.
The workshop is located on the 4th floor of the building, and there’s no elevator. If you’re traveling with a heavy daypack, wear comfy shoes and give yourself extra time. The studio location can be a little tucked-in, so arrive with a buffer.
A practical tip that really matters: the entrance is around the side of the coffee shop downstairs, and there’s a pink studio sign. If you walk straight up to the front like a tourist robot, you might miss it. Take one extra look around the corner.
Getting there is easy enough because it’s near public transportation. Once you’re in the Mapo area, the hardest part is just matching the building and finding the correct side entrance.
How the 90-minute session is structured (and what you’ll do first)
The experience is listed as about 1 hour (approx.), but the class is described as lasting about 1.5 hours. Either way, the structure is similar: you’ll spend your time designing, crafting, then enjoying the finished result.
Here’s the flow you can expect:
Step 1: Choose your item and start planning your design
You’ll pick the item you want to create, such as:
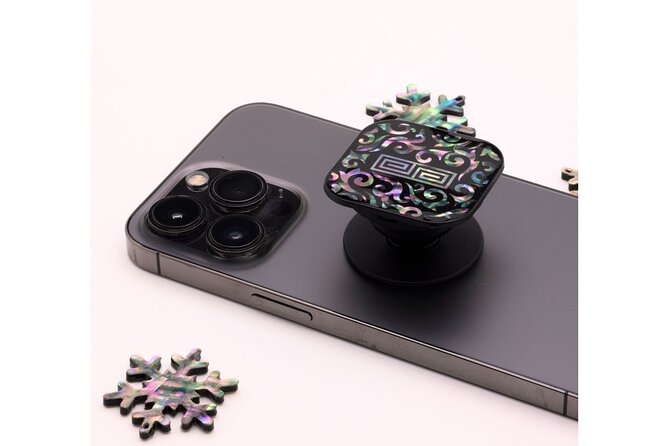
- keychains
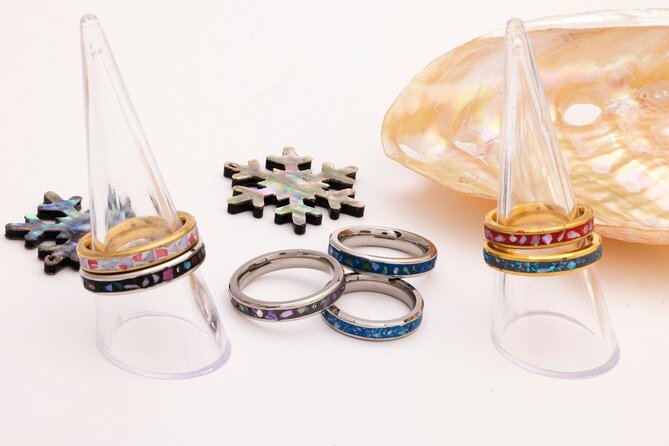
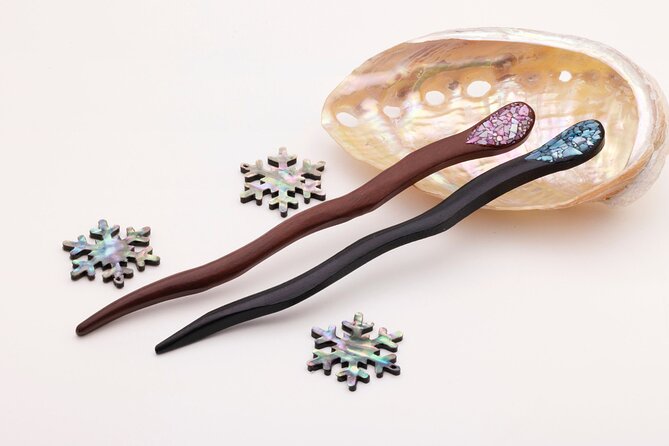
- hair accessories
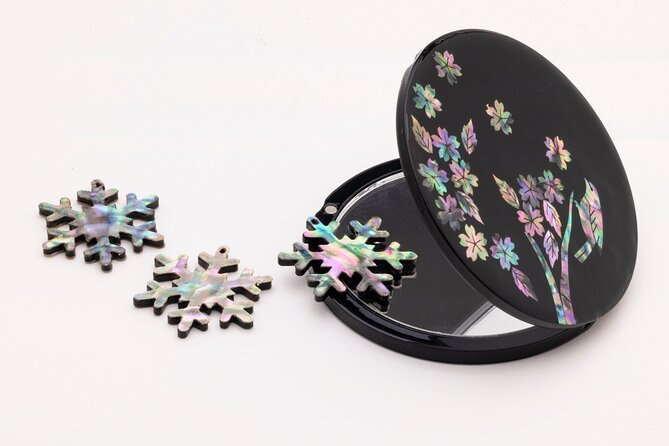
- compact mirrors
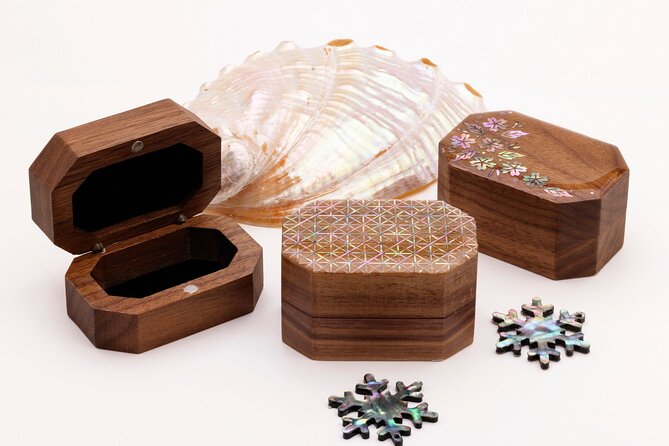
- accessory boxes
Then you’ll choose how you want it to look. The instructor will explain the general process for working with Najeon Chilgi, and you’ll select shapes and mother-of-pearl pieces to match your design idea.


Step 2: Learn the inlay process, then begin assembling
The class is hands-on, so you’ll be doing the work rather than just watching. You’ll use various shapes and shell pieces to create your design layout. The instructor’s explanation is the backbone—so listen early and ask questions right away.
This matters because mother-of-pearl inlay is all about placement. If you rush the early layout, you might waste a few pieces as you adjust.
Step 3: Build your pattern (traditional options plus letters)
You can go with traditional Korean-style patterns, or personalize the design with initials using Hangeul or English letters. That’s one of the best parts of this workshop: you don’t have to choose between authentic style and personalization. You can do both.
Step 4: Finish your piece while the instructor helps wrap things up
When your item is completed, the instructor wraps up the craft. At that point, you’ll have something you can hold and admire immediately—bright, colorful, and made by your own hands.
Step 5: Watch the short video on traditional Najeon Chilgi
After the instructor is done, you’ll have time to watch a video showing the process of making traditional Korean Najeon Chilgi. It’s a good moment to connect the steps you did with how the craft looks at a larger, traditional scale.
Choosing shapes and letters: your design freedom is real
This isn’t a class where you copy one pre-made template. You’re creating your own arrangement using:
- different shapes
- different pieces of mother-of-pearl with natural color
- options for traditional Korean patterns
- options for Hangeul or English letters
In other words, you can tailor the piece for the person you’re buying it for—or tailor it for yourself. Want something subtle? You can design with a restrained layout. Want something that looks like a “real” craft piece? Go for a more structured pattern.
If you’re worried about not being artistic, that’s normal. The class design options help you choose a style that fits your skill level. You’re not forced into advanced calligraphy or complicated imagery. You’re building an inlay composition out of pieces that are meant to work together.
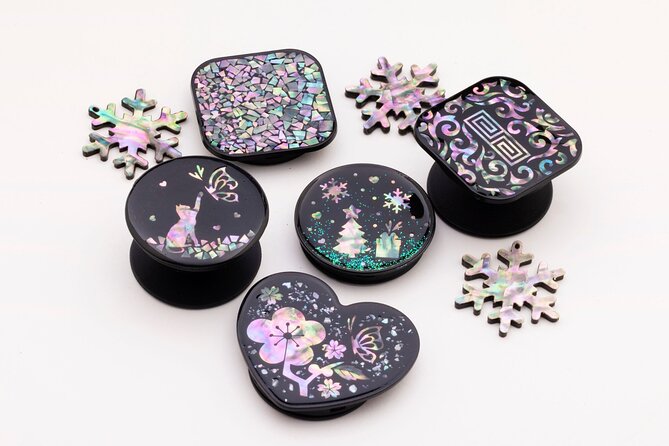
What you’ll make: pick the item that matches how you’ll use it
The workshop offers several items, and each has a different “take-home payoff.”
- Compact mirrors: Great if you want a practical souvenir that shows the mother-of-pearl shine every day. A mirror also tends to look polished even if you’re new at inlay.
- Keychains: Easy gift choice. It’s small, but the shine is visible when it catches light.
- Hair accessories: Best if you like using souvenirs in daily life, not just storing them.
- Accessory boxes: A good choice if you want a more display-ready piece.
One more practical note: because you’re making one item (at least one required purchase), you’ll want to choose what you truly want to take home. Don’t pick something because it sounds cute—pick the thing you’d actually use.
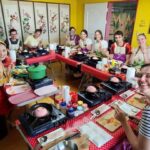
Instructor support and the studio vibe that keeps it relaxing
A big reason this workshop scores so high is the way it’s run. The studio setup is described as prepared and friendly, and the instructor guidance makes the difference between a frustrating craft and a satisfying one.
Also, the atmosphere matters. This class is described as relaxing in a small studio setting. That helps you focus. You’re working with delicate materials, so feeling calm makes the process easier.
If you’re the type who likes small-group activities, you’ll like this. With a maximum of 9 travelers, you’re unlikely to feel lost in the shuffle. You’ll also have enough attention to get unstuck if something doesn’t look right early on.
Practical travel tips: timing, group size, and who can join
This is a good class for many schedules because it’s short. Plan for about 1 to 1.5 hours, and you’re back out the door with your souvenir.
Group size: max 9 travelers, so it feels intimate rather than assembly-line.
Most travelers can participate: the class isn’t described as requiring special skill.
Children rules (important)
Children must be accompanied by a guardian. Both the child and the guardian are required to purchase a product and participate in the class. Guardians can’t attend only as observers.
So if you’re traveling with kids, treat this like a family activity where everyone joins the making.
Service animals
Service animals are allowed.
How to get the most out of your time (without overthinking it)
Here’s how to make your one session count:
- Arrive early enough to find the right entrance. The side entrance and pink sign are easy once you know them, but they can waste time if you don’t.
- Pick your item first, then design. Starting with the item helps you size your layout in your head.
- Don’t wait too long to ask questions. The instructor’s explanation is key to placing pieces correctly.
- Think about the letters. If you want Hangeul or English initials, decide the spelling early so your layout matches the pieces you choose.
- After you finish, watch the video slowly. It’s a quick way to connect your own work to the broader traditional craft process.
Who should book this mother-of-pearl workshop?
You’ll enjoy it most if you want a souvenir with real craftsmanship behind it. This is ideal for:
- couples looking for a calm, creative morning activity
- solo travelers who like small-group classes and tangible results
- gift shoppers who want something personal (initials, patterns, and a unique item)
- anyone who likes Korean crafts and wants to understand how they’re made, not just buy them
You might skip it if you’re short on time and can’t spare about an hour to ninety minutes, or if stairs are a problem for you (the workshop is on the 4th floor with no elevator).
Should you book Hwiho Craft’s Najeon Chilgi workshop?
If you want a Seoul experience that’s hands-on, compact, and genuinely personal, I’d recommend booking. For $30, you’re not just buying a pretty item—you’re making a mother-of-pearl inlay keepsake with a clear step-by-step process and small-group attention.
The decision hinges on two practical points: can you do stairs to the 4th floor, and do you want to spend an hour creating something you’ll keep. If both fit your trip, this is a smart use of time—and a souvenir you’ll actually feel good about.
FAQ
How long is the Traditional Korean Mother-of-Pearl Craft Workshop?
It runs about 1 hour on average, and the experience is also described as lasting about 1.5 hours. Plan for roughly 1 to 1.5 hours.
What can I make in the workshop?
You can create items such as keychains, hair accessories, compact mirrors, and accessory boxes.
What is Najeon Chilgi?
Najeon Chilgi is the traditional Korean craft of mother-of-pearl inlay, using thinly processed seashell material with natural color.
Where is the meeting point and how do I find the workshop?
The meeting point is at 5 Dongmak-ro 2-gil, Mapo-gu, Seoul. The workshop is on the 4th floor, and you’ll reach it by stairs.
Are children allowed to participate?
Children must be accompanied by a guardian. Both the child and the guardian must purchase a product and participate; guardians can’t attend only as observers.
Is there a limit on group size?
Yes. The workshop has a maximum of 9 travelers.