REVIEW · SEOUL
Blood & Tears: Korea Dark History Guided Walking Tour
Book on GetYourGuide →Operated by KTOURSTORY · Bookable on GetYourGuide
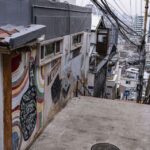
Facts have weight here. This guided walk in Seoul connects real prison and democracy sites to the stories people needed to survive. Expect a small group day built for reflection, not quick sightseeing.
I especially like how the experience is paced around meaning, not just dates—an English guide turns each stop into a human story you can actually follow. I also like that you can choose between two different packages, so you control whether your day focuses on independence-era sacrifice or the road to democracy.
The one drawback to plan for is the pace. It runs a long stretch of time using public transportation between sites, so you should be ready for a full walking day.
In This Review
- Key things that make this tour stand out
- Two Package Choices That Change the Mood of Your Day
- Seodaemun Prison History Hall: Where resistance turns into evidence
- Dongnimmun Arch: A monument with a complicated afterlife
- Dilkusha: Shoe-removal details and an American journalist’s role
- Tapgol Park and the 1919 independence cries
- National Museum of Korean Contemporary History: A needed framework before the harder stops
- Tongin Market lunch time: A practical break with real Seoul energy
- Namsan KCIA Headquarters to Korea Democracy Foundation: Surveillance turned into memory
- The English guide and small-group size: Why the storytelling feels personal
- Price and Logistics: Is $61 really fair for what you’re getting?
- Who Should Book This Tour in Seoul, and who should skip it
- Should you book Blood & Tears: Korea Dark History Guided Walking Tour?
- FAQ
- How long is the Blood & Tears walking tour?
- What are the two tour package options?
- Where do you meet for each package?
- What’s included in the price?
- Are meals included?
- Is the tour wheelchair accessible?
- Do I need to remove my shoes anywhere?
- FAQ
- Can I cancel for a refund?
- Do I need to pay immediately?
- What language is the guide?
- Is the itinerary affected by weather or traffic?
- Can the Korea Democracy Foundation visit change?
Key things that make this tour stand out

- Two distinct storylines: independence first, or democracy later
- Seodaemun Prison History Hall brings colonial-era violence into sharp focus
- Dilkusha details include a house visit where shoe removal may be required
- A purposeful museum framework in Package 2 helps you connect the dots across decades
- Small-group guidance in English with room for questions and tailored pacing
Two Package Choices That Change the Mood of Your Day
Blood & Tears isn’t one generic “dark history” loop. It’s two different guided walking routes in Seoul, each covering a different chapter of Korea’s modern struggle for freedom.
Choose Package 1: Then Fight for Independence if you want the earliest spark of organized resistance and the colonial pressure that followed. You start at 9:30 AM at Dongnimmun Station Exit 5, then move through three historic stops tied to imprisonment, propaganda-era meaning, and independence momentum. The route ends around 13:00 at Tapgol Park.
Choose Package 2: Road to Democracy if your priority is the post-war era and the systems that tried to crush dissent. It starts at 9:50 AM at Gwanghwamun Station Exit 7 and runs until 16:00, ending at the Korea Democracy Foundation (which may shift depending on on-site conditions). Along the way, you get a museum foundation, a real market lunch break, and then two major sites linked to surveillance and political repression.
If you do both, you’ll get a timeline effect: independence pressure in the early 1900s, and later the struggle over democracy after independence. That’s a powerful way to understand why Korea’s fight for freedom keeps echoing in the country’s public spaces.
You can also read our reviews of more walking tours in Seoul
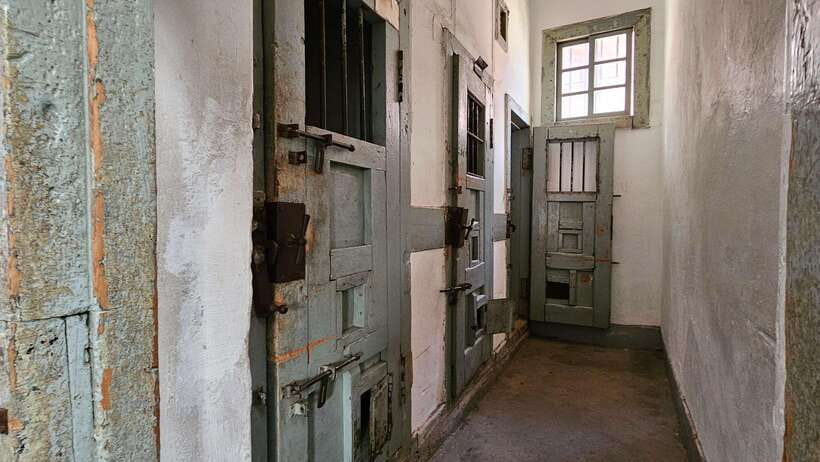
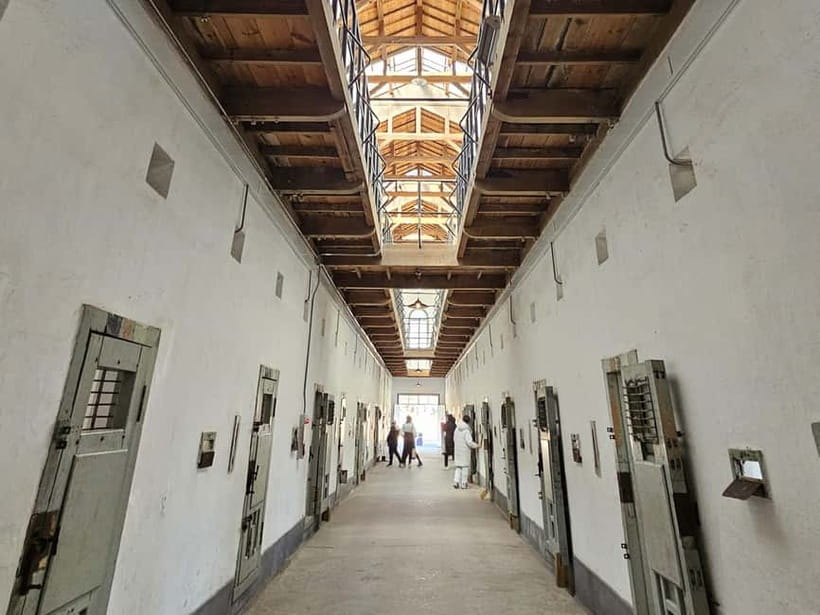
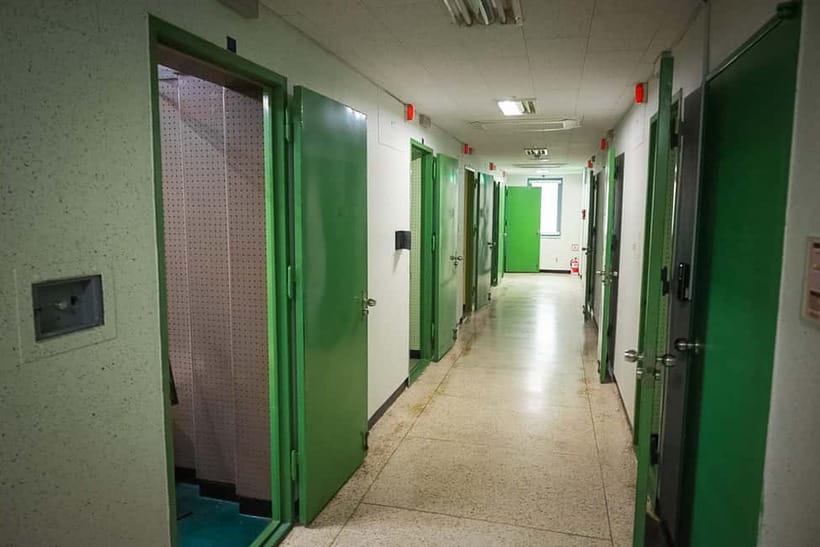
Seodaemun Prison History Hall: Where resistance turns into evidence

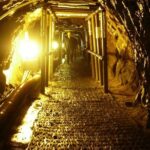
Package 1 begins with the most emotionally heavy stop: Seodaemun Prison History Hall. You’ll be walking through a place built for containment and punishment, then watching that physical space tell you what textbooks often skip. In the dim, cold feel of the cells and the atmosphere around the torture chambers, the point isn’t to sensationalize suffering. It’s to show how the colonial system tried to erase resistance by breaking people.
This stop is valuable because it gives you context for the rest of the day. Once you’ve seen what imprisonment looked like and what defiance cost, you read later “independence landmarks” differently. They stop being monuments and start being messages—some hope, some warning, some bitter irony.
Practical heads-up: the tour uses public transportation between stops. That means you’ll be walking, transferring, and spending most of your day in motion rather than sitting and only listening. If you’re sensitive to difficult subject matter, this is where you’ll feel it first.
Dongnimmun Arch: A monument with a complicated afterlife
After Seodaemun Prison, the route moves to Dongnimmun Arch. On paper, an independence-related structure can sound straightforward. Here, it becomes more complicated—because what was originally meant to celebrate national independence later turns into a symbol caught under the weight of Japanese colonization.
The value of this stop is perspective. It’s a reminder that political control can rewrite the meaning of public space. A landmark doesn’t just hold history. It can be repurposed by whoever has power at the time.
And because this tour is small, you’re not stuck listening at a distance. Your English guide can connect the arch to what you just saw at the prison, so the symbolism doesn’t float off into vague commentary. You’ll come away understanding why certain places in Seoul feel emotionally “loaded,” even when they look like simple stone or concrete from across the street.
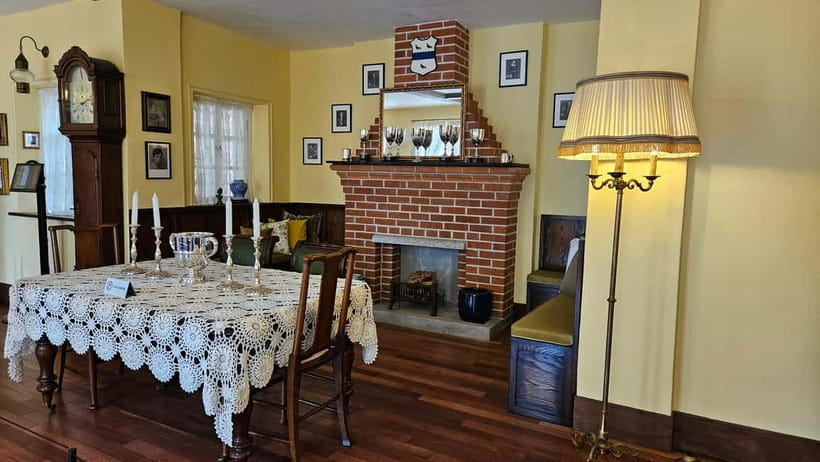
Dilkusha: Shoe-removal details and an American journalist’s role
Next comes Dilkusha, the former residence of Albert W. Taylor, an American journalist known for exposing brutalities of Japan’s rule. This stop adds an outside-witness angle that makes the story feel less isolated. Instead of only learning what happened inside Korea, you also see how international attention (and the writing that came from it) helped shape what the world could no longer pretend not to know.
You may need to remove your shoes when visiting Dilkusha to help preserve the historic residence. Slippers are provided on-site, so don’t stress—but do plan for the moment and wear something easy to slip off and back on.
This part of Package 1 matters because it connects two different kinds of resistance: armed and political defiance inside Korea, and the power of documenting injustice so it can’t be hidden.
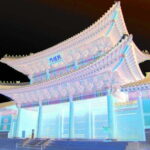
Tapgol Park and the 1919 independence cries
Package 1 ends at Tapgol Park, around 13:00. This is where independence momentum becomes public action. The story centers on 1919, when the first cries for independence reverberated through the streets and helped spark a nationwide uprising.
What I like about ending here is that you get closure in a human scale. You’re no longer surrounded by confinement spaces. You’re walking toward a location tied to collective movement—people stepping into the open to demand change.
If you’re planning other activities later in the day, Tapgol Park is also a practical payoff point. You finish earlier than Package 2, which makes it easier to keep your schedule flexible.
You can also read our reviews of more guided tours in Seoul


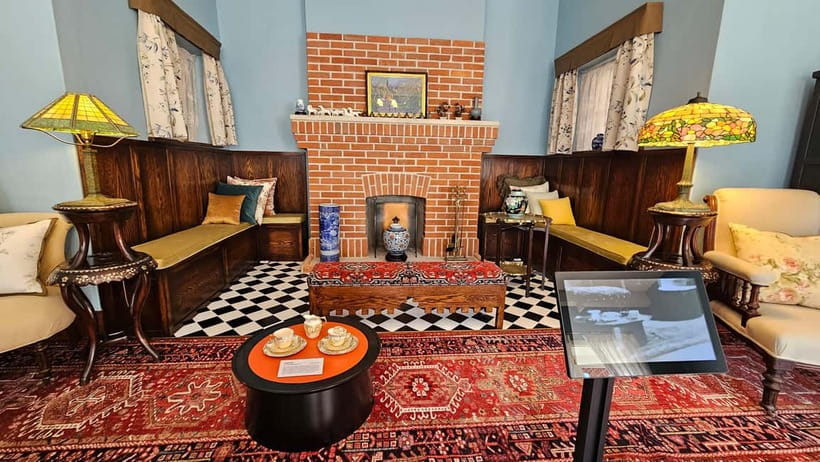
National Museum of Korean Contemporary History: A needed framework before the harder stops
Package 2 starts at Gwanghwamun Station Exit 7 and begins with the National Museum of Korean Contemporary History. This matters because democracy struggles don’t start with a single event. They build through decades of reconstruction, power grabs, military regimes, and citizen resistance.
A museum stop early in the route is useful because it gives you the “why” behind the rest of the day. When you later visit sites linked to surveillance and political repression, you’ll understand the logic of the system and the pressure it put on everyday people.
This is also a good place for your guide to answer questions. A strong English guide can connect what you’re seeing to how later events unfold, especially if you want to connect threads to uprisings you’ve heard about from films or reading. The museum gives you a backbone so those references start clicking into place.
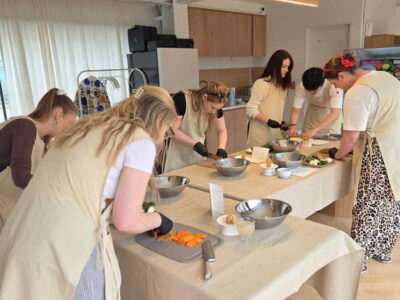
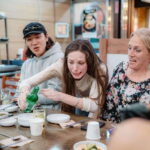
Tongin Market lunch time: A practical break with real Seoul energy
In Package 2, the tour takes you to the Tongin Market, where you enjoy a traditional lunch. Meals aren’t listed as included in the tour price, so plan to pay for what you eat here—but the stop is still a smart value add. It’s not just a “we paused to eat.” It’s a way to experience daily life between heavy historical sites.
People often underestimate how helpful this break is. After the museum context, you need a reset for your brain. And Tongin Market is a place where you can recharge while still being in a part of Seoul that feels lived-in, not staged.
One practical tip: if you know you want a specific meal style (rice bowls, bento-like sets), arrive hungry and be ready to make a quick decision. You have time, but it’s a guided schedule day.
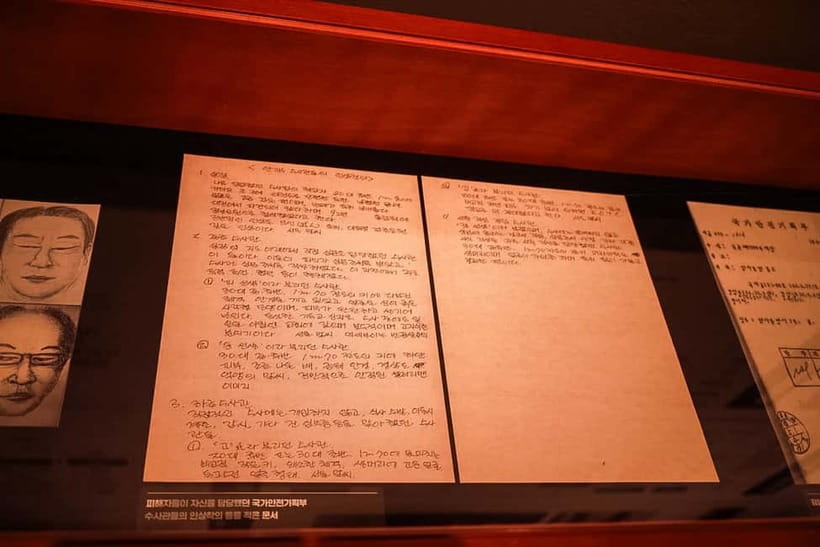
Namsan KCIA Headquarters to Korea Democracy Foundation: Surveillance turned into memory

Late in Package 2, you move into one of the most intense parts of the route: Namsan KCIA headquarters. This is where the story shifts from past resistance to the machinery that tried to silence dissent—through surveillance, political oppression, and torture.
This stop is powerful because it shows how control works. It’s not only violence in a prison cell. It’s information control, pressure, and systems built to stop ideas from spreading. When you stand in spaces tied to that process, the later “democracy” language starts feeling real and earned.
The tour then ends at the Korea Democracy Foundation at 16:00, which may be adjusted depending on on-site conditions. The reason to end here is emotional math: you’re ending at a place that preserves the memory of oppression while pointing toward the hard-won rise of democracy.
If you want your day to feel like a complete arc, this is the package that gives it to you—from how the system operated, to how freedom had to be built afterward.
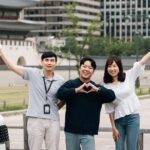
The English guide and small-group size: Why the storytelling feels personal
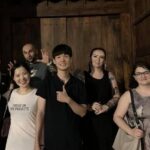
This tour caps at 10 participants, which changes the entire feel of the day. In a group that small, the guide can slow down for questions and adapt to what you’re most curious about. In past small-group situations, the tone can even become more conversational, which helps history feel less like a lecture and more like a guided conversation through specific places.
The guide role is especially important for this topic. History like this can go flat if it’s only names and dates. Guides who use examples to explain motivations and relationships make the story easier to hold onto when you’re walking from one landmark to the next.
You might see different guide names depending on the date. For example, Joseph, Laura, Chuck, and Gina have led tours and were praised for clear explanations and patient, engaging pacing. If you like learning from a guide who can answer follow-up questions without rushing, this small-group setup is a big reason to book.
Price and Logistics: Is $61 really fair for what you’re getting?
At $61 per person, this is priced like a value tour rather than a “premium history experience.” That’s because a lot is included: English-speaking guide, admission fees, and public transportation fees during the tour.
What that means for you: your money goes toward access and interpretation, not toward piecing together tickets and transit on your own. You also avoid the common problem of DIY history days, where you stand at a site wondering what to notice and how to connect it to the bigger story.
Meals are not included, so you’ll want to budget food separately—especially for Package 2 where lunch time is part of the flow. Also consider that the total time runs 210 to 330 minutes, depending on which option you pick (and possibly conditions). It’s a long block, so plan your rest and other plans accordingly.
Comfort matters here. Since you’re using public transportation and walking between landmarks, wear shoes you can stay in for hours. And for Dilkusha, be ready for possible shoe removal.
Who Should Book This Tour in Seoul, and who should skip it
This tour is a strong fit if you want more than surface-level sightseeing. You’ll enjoy it most if you like context: how colonial rule worked, how dissent was punished, and how democracy became something people had to build and defend.
It’s also a good early-trip option. Learning the “how” and “why” of Korea’s modern history early can make the rest of your Seoul time feel clearer. You’ll notice how political memory shows up in places, street-level details, and museum storytelling.
You might not love it if you’re looking for a light day with minimal emotional weight. This is a reflection-focused route. You’ll be standing in locations tied to imprisonment, torture, and political repression. That’s meaningful, but it’s not gentle.
Should you book Blood & Tears: Korea Dark History Guided Walking Tour?
Yes, if you want your Seoul history grounded in real places and clear explanation, not just photos and quick stops. The two-route structure is smart: you can choose the independence thread or the democracy thread, then see how they connect across time.
Before you book, make your decision based on your mood and schedule. If you want an earlier finish and a colonial-to-independence arc, pick Package 1. If you want a museum-to-surveillance-to-democracy arc with a market lunch break, pick Package 2. If you can handle a longer, emotionally heavy day, doing both gives you the clearest timeline.
FAQ
How long is the Blood & Tears walking tour?
The duration is listed as 210 to 330 minutes, depending on the package and conditions.
What are the two tour package options?
There are two options: Package 1: Then Fight for Independence and Package 2: Road to Democracy.
Where do you meet for each package?
Package 1 meets at Dongnimmun Station Exit 5 at 9:30 AM. Package 2 meets at Gwanghwamun Station Exit 7 at 9:50 AM. The meeting point may vary depending on what you book.
What’s included in the price?
The tour includes public transportation fees during the tour, an English-speaking guide, and admission fees.
Are meals included?
Meals are not included. For Package 2, there is a traditional lunch time at Tongin Market as part of the tour flow, so you’ll still want to pay for what you eat.
Is the tour wheelchair accessible?
The tour is listed as wheelchair accessible, but it also notes that traveling by public transportation may be inconvenient for wheelchairs.
Do I need to remove my shoes anywhere?
For Package 1, you may need to remove your shoes when visiting Dilkusha. Slippers are provided on-site.
FAQ
Can I cancel for a refund?
Yes. The tour offers free cancellation up to 24 hours in advance for a full refund.
Do I need to pay immediately?
No. It offers reserve now & pay later, so you can book your spot and pay nothing today.
What language is the guide?
The tour guide speaks English.
Is the itinerary affected by weather or traffic?
Yes. The itinerary is subject to traffic & weather conditions.
Can the Korea Democracy Foundation visit change?
Yes. The visit to the Korea Democracy Foundation in Package 2 may be adjusted depending on on-site conditions.